
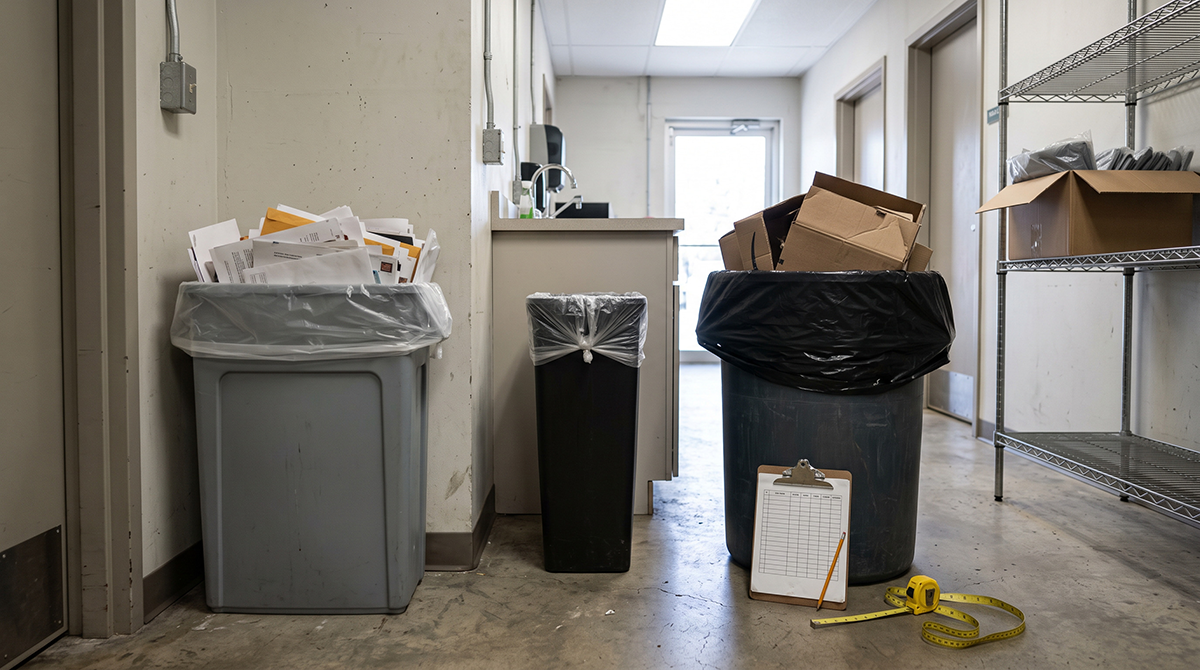
A bargain bag stops being a bargain the moment someone has to grab a second one. The gallon number on the box won’t warn you about that.
Start with the waste, then measure the can
The gallon label tells you roughly how much a bag holds. It doesn’t tell you whether the bag sits right on your can or survives what lands in it. Work in this order: what goes in, how the bag fits, and how it performs in real use. Jumping straight to price per case skips all three.
Before comparing bags, sort your waste into three rough groups: paper only, damp mixed waste (think breakroom), and rough packaging with corners, cardboard edges or broken trim. This guide is for ordinary trash. Regulated medical waste, sharps and hazardous materials need their own approved containers and procedures, and no flexible liner makes an exposed sharp safe to handle.
Record what changes from station to station
For every can, write down the location, receptacle model, typical contents and how often it’s emptied. An office desk bin and a busy breakroom can have similar listed capacities and still need different liners.
Measure liner width and length separately
Liners are listed as flat width by length, but your can is three-dimensional. Convert one to the other.
Width. The flat bag width should cover half the distance around the can. For a round can, measure the circumference at its widest point and divide by two. For a rectangular can, add the width and the depth. Measure the widest relevant part, and account for the rim and any rigid insert.
Use a soft tape and measure the can itself, not the spec sheet. Inserts, lids and wall-mounted frames change what the bag has to wrap around. If a rim or band holds the bag in place, measure the opening where the bag actually sits. Write every number in inches so you aren’t converting later.
Length. The bag has to reach the floor of the can, cover the bottom, and still fold over the rim. If the bag creeps down into the can by lunch, the overhang is too short. That’s the can telling you something.
Allow room for the bottom and fold-over
A common sizing approach is the can’s height, plus half the diameter (round) or half the depth (rectangular), plus an overhang. Manufacturer guidance varies, with some using three inches of overhang and others four. The example below uses four inches. Take that as a starting point, not a standard. If the liner maker publishes compatibility guidance for your receptacle, go with that.
Worked example, with a fit check
If your can is 18 inches wide, 12 inches deep and 30 inches tall, the math looks like this:
- Estimated flat width: 18 + 12 = 30 inches
- Estimated length: 30 (height) + 6 (half the 12-inch depth) + 4 (overhang) = 40 inches
So 30 × 40 inches is a first estimate, not a final answer. Before picking a stocked size, put the actual bag on the actual can and check four things: rim fit, bottom contact, room to tie, and how easily it lifts out.
Choose the film for the contents
| Waste stream | Common material choice | What to test |
|---|---|---|
| Non-sharp office paper | HDPE (high density), a common option for non-sharp waste | Rim fit, and whether the film tears when tied |
| Damp breakroom waste | LLDPE (linear low density), often chosen where stretch and tear resistance matter | Bottom leaks, and how the bag stretches when lifted |
| Rough packaging | LLDPE or a heavier film, confirmed with the manufacturer | Punctures from corners, and tears during removal |
Use the table as a first guess, then test. The resin, how the film is made and what it was designed for all change how it performs. If a product listing doesn’t state the material, thickness unit and bags per case, fill that gap before ordering instead of guessing.
Thickness is only one part of strength
Don’t trust any chart that says one density wins every time. Puncture resistance, tear propagation and load performance are different properties, and a bag can do well at one and poorly at another. When you’re weighing high density vs low density trash bags, lean on the manufacturer’s recommendation for that specific liner instead of a broad retailer chart.
Read mils, microns and case quantities correctly
Mil versus micron is mostly a units question. One mil is 0.001 inch. One micron is 0.001 millimeter. The conversion is 1 mil = 25.4 microns, so 16 microns works out to about 0.63 mil.
A thicker bag isn’t automatically a stronger one, especially across different materials. That number is thickness, not a strength rating. When you compare two products, line up the dimensions, material, thickness with its unit, seal description and bags per case. A bigger case can still work out to a lower price per bag, but price per bag says nothing about whether the bag holds up.
Run a small liner trial before the case order
This is a practical shop-floor check, not a manufacturer test standard. Pick one representative station and keep the normal collection routine. Run the candidate liner and your current liner under similar conditions, and record slipping, splitting, leaks, replacement bags and how hard removal was.
A simple way to run it:
- Fit the candidate on the empty can and check the rim and the bottom.
- Use it through a couple of normal collection cycles, with the same crew and route as your current liner.
- Tally every change, including any that needed a second bag.
- Ask the person who empties the can what they noticed.
Staff should follow your existing handling procedures. Don’t deliberately overload bags to see what happens. Note the seal construction too, but don’t assume any seal prevents every leak.
Compare cost per completed change
Say 100 bags cost $18 and 10 changes each need an extra bag. That’s 110 bags for 100 completed changes, or $19.80, which is $0.198 per change. Plug in your own prices and failure counts. Record cleanup labor and shipping separately, since they’re real costs the bag price won’t show.
Copy this waste-station buying worksheet
Make one copy per station. A tape measure and a few minutes at each station beat guessing from the box. The example column uses the 18 × 12 × 30 inch can from the worked example above.
| Field | Example |
|---|---|
| Station name | Breakroom |
| Can model | |
| Width / depth / diameter / height | 18 / 12 / n/a / 30 inches |
| Calculated liner size | 30 × 40 inches |
| Selected product dimensions | |
| Waste type | Damp mixed |
| Material | |
| Thickness and unit | |
| Bags per case | |
| Delivered case cost | |
| Supplier SKU | |
| Trial: completed changes | |
| Trial: extra bags used | |
| Trial: fit problems | |
| Trial: leakage | |
| Trial: staff feedback | |
| Approved by / date / reorder |
Leave SKU, stock status and the final product blank until you’ve confirmed them. Once a spec passes the trial, label the storage shelf with it so the next reorder is a lookup, not a guess, and update the label when your receptacles or waste change.
If you manage several floors or buildings, number the stations so a reorder note can say “Station 4, approved spec” instead of describing the bag from memory.
If you’re building a full supply list, our rundown of 10 essential janitorial supplies covers the rest of the cart.
Frequently Asked Questions
Why does a bag with the right gallon rating still slip?
Gallon rating describes volume, not fit. Slipping usually means the width, length or overhang doesn’t match the can’s shape or rim. A tapered can or a rigid insert can also change how the bag sits. Re-measure and recheck the rim.
Does a higher micron number mean a stronger bag?
Not by itself. A micron number tells you thickness, not strength. Material, construction and seal matter too, so check the manufacturer’s guidance and run your trial.
Can one liner specification cover every room?
Sometimes, but rarely. If your cans and waste are similar, one spec may work. Offices, breakrooms and areas with rough packaging often need separate specs, so let the trial results decide.
Should I order the next larger size when my measurements fall between products?
Not automatically. A bag that’s too large can be awkward to tie and costs more per change. Test the closest candidates on the real can and compare fit, removal and cost per completed change.
Find the right liner for your cans
Measure your cans, fill in the worksheet, then look through our janitorial supplies for liners that match your numbers. If the rest of your supply list needs filling in, you’ll find it at My Main Supply.
